
For this month's Don't Call Me Chef newspaper column, we wrote about our favourite things. Mine is eating a slab of rustic bread – homemade if possible – slathered with butter. What I like is homemade butter, and since I found out how easy it is to make, this is the only kind I will spread on my toast.
I make only a small amount, about a week's worth, since homemade butter doesn't keep for long. But making it is an enjoyable process so I do this about once a week. It's not the cheapest butter around, but there are some things in life I don't mind spending a little extra money or time on.
 Because of space constraints in the newspaper, I've posted step-by-step instructions here with pictures.
I make only a small amount, about a week's worth, since homemade butter doesn't keep for long. But making it is an enjoyable process so I do this about once a week. It's not the cheapest butter around, but there are some things in life I don't mind spending a little extra money or time on.

HOMEMADE BUTTER
Double cream, removed from the fridge and allowed to sit at room temperature for 30 minutes
Equipment
Large mason jar

- Pour cream into the jar to come a third of the way up the sides. Screw on the lid tightly and shake the jar up and down so the cream sloshes around. Do not stop shaking until the butter starts to form. During the process, you can tell which stage you are at by the sound.
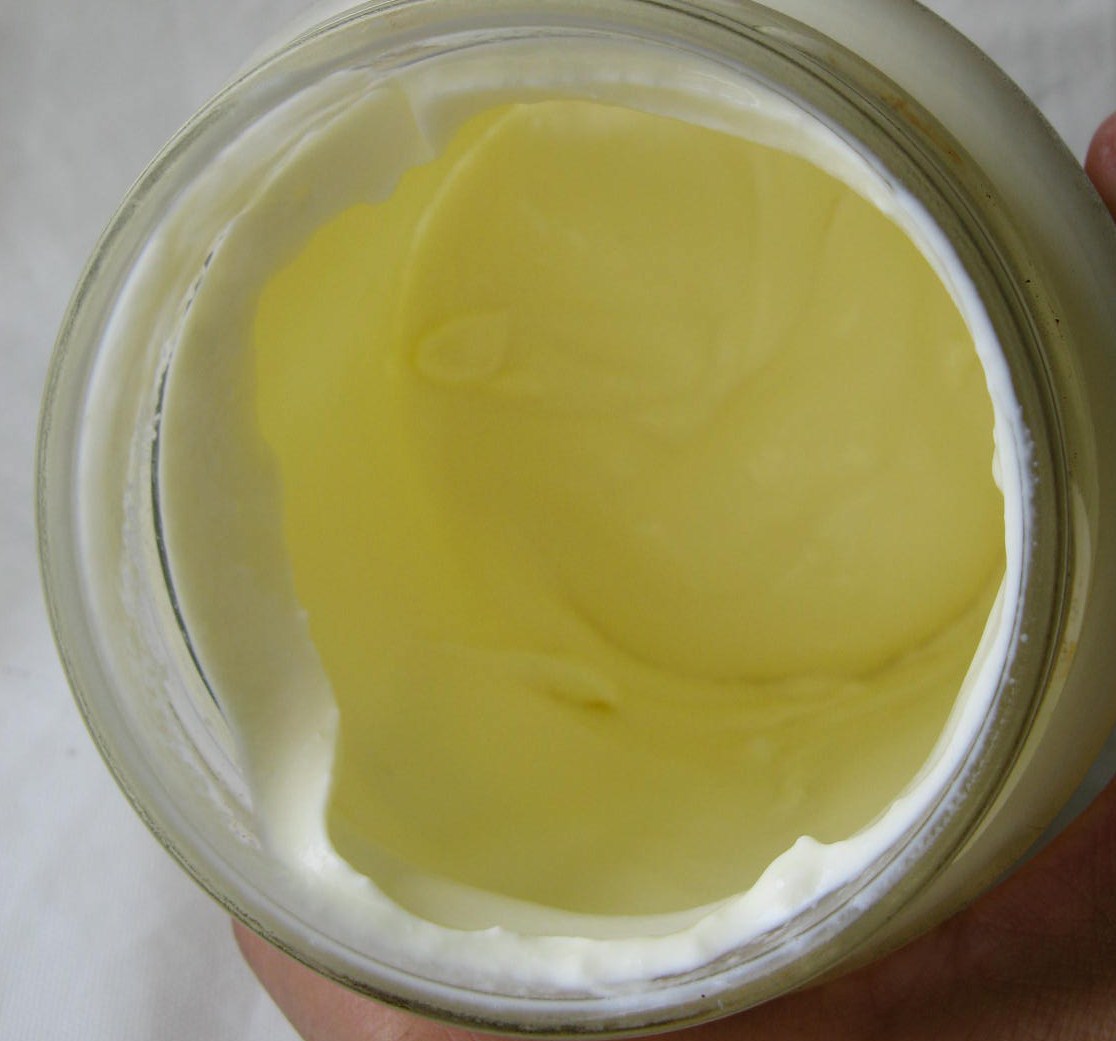
- First there will be a lot of sloshing. Then it will suddenly stop. This is when whipped cream has formed. For the small amount of cream that I used here, it took only about 7 minutes to turn to whipped cream.

- Keep shaking and the cream will start to separate into curds that form into a big lump -- this is the butter. It will sit in a thin liquid – the buttermilk. This may take 10 minutes, or it may take 30 mins. If you have small children around, let them earn their keep and get them to take turns shaking the jar. Pour the buttermilk into a clean container and reserve for another use. It is delicious and you can use it in all sorts of dishes. (Here's a link to recipes using buttermilk.)
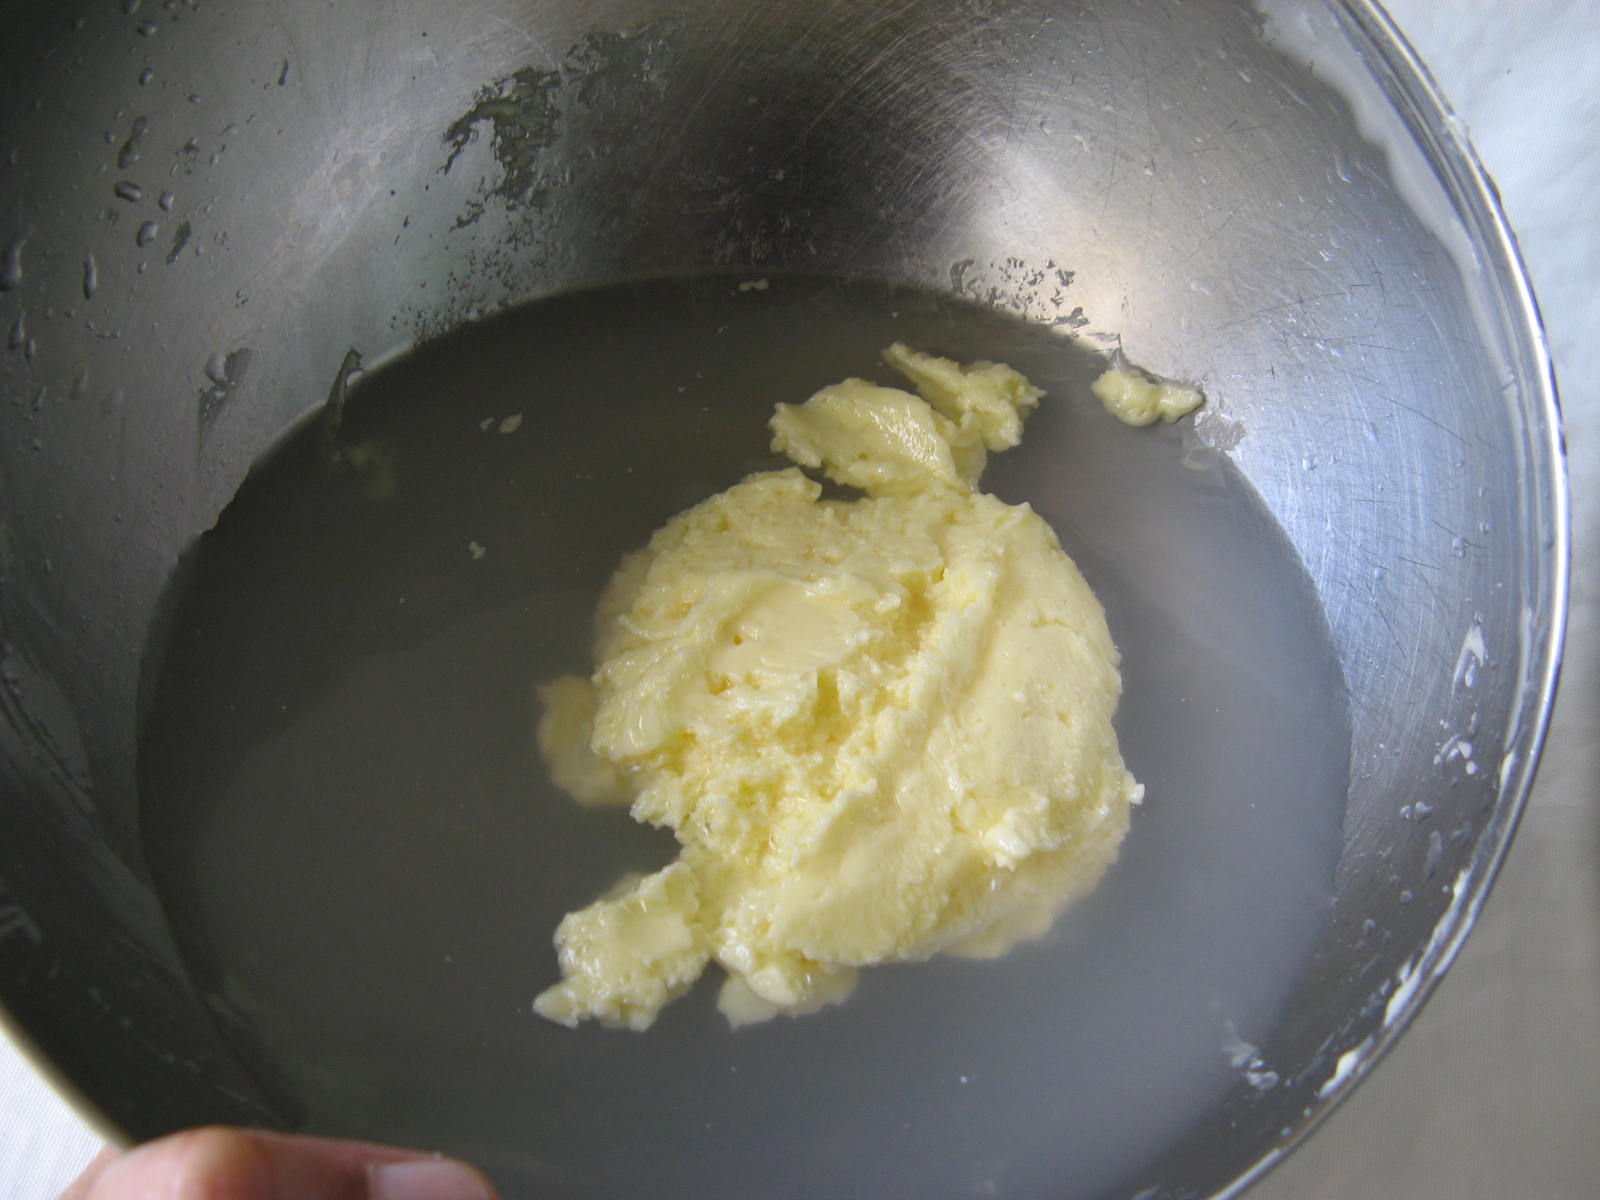
- Put the butter into a clean bowl and cover with cold water. Swirl it around, then pour away the liquid. Continue rinsing the butter until the water runs clear. This shouldn't take very long – 5 minutes or so.

- Place butter on a chopping board and press with a rubber spatula to remove all the buttermilk – it's the milky white droplets in the picture. Any remaining buttermilk will spoil the butter.

- Transfer butter to a clean container; press out air bubbles with a spatula. Keep covered in the refrigerator. The unsalted butter and buttermilk will keep for about a week.
- If desired, knead sea salt (to taste) into the butter. This will help preserve the butter. But for this small amount, there's really no need to. Instead of salting the butter, spread it on bread, then sprinkle some sea salt over it for taste and that pleasant crunch.
No comments:
Post a Comment
Your views are welcome and appreciated. Have a nice day!